DIY Astrological Ornaments
I firmly believe in using ornaments POST Christmas each year, and I like to incorporate them into my decor through March. I think they are great little space fillers!
For winter, shades of white, icy blues, pink, navy blue, and metallics, the “snow” tones, are perfect for the cold, cozy months. These DIY Ornaments are the perfect shades to celebrate the snow falls and chilly weather, and are SUPER easy to create! I am so excited to share my first DIY blog post. Please keep reading for my how-to on ornament making! :)
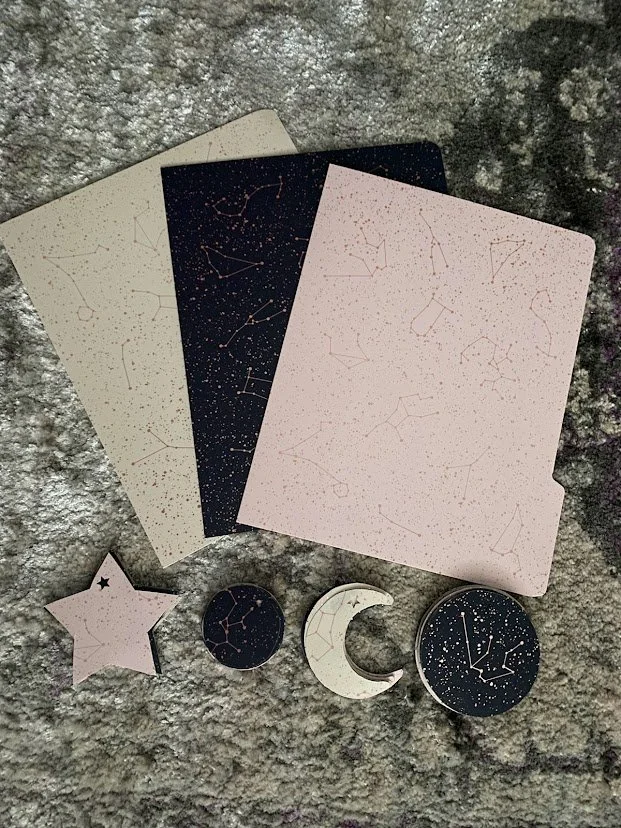
To start, you should know I made these ornaments from a pack of folders I found at HomeGoods! Yes, it’s that simple!
Whether you want to hunt for this type of pattern, or find a print that screams YOU, they will all work the same with my DIY below.
Also, if you are on the hunt for folders like mine, here are some I found with astrological print: Zazzle, Deal Genius, and one more cute find from Zazzle.
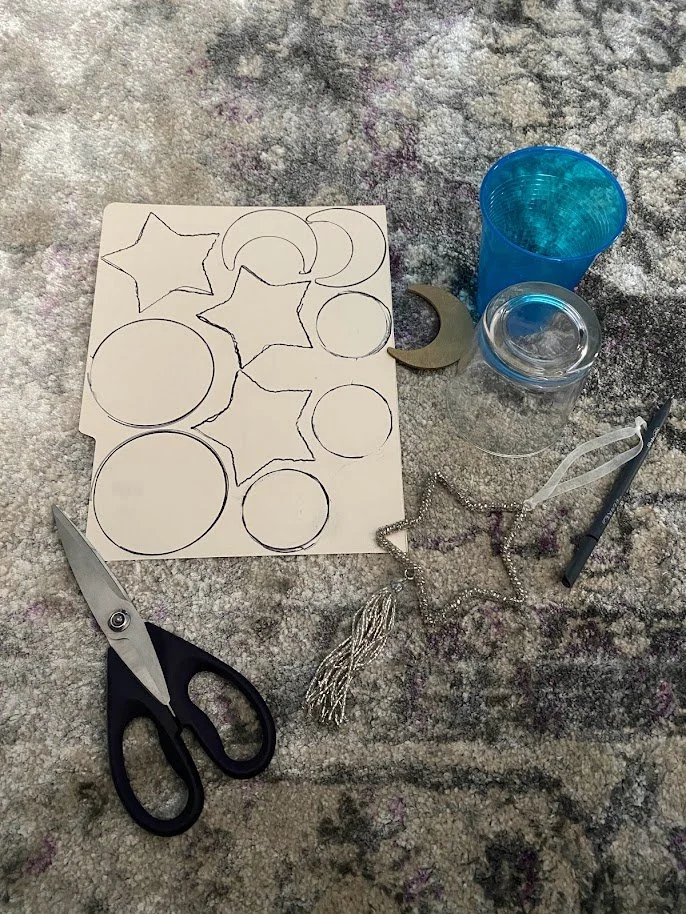
To achieve these cute cutouts, you will need
Folders of your choice (I used 3 folders total, both sides of each.)
Scissors
Cups (multiple options to achieve different circle sizes)
Other shapes that are able to be stenciled (optional!)
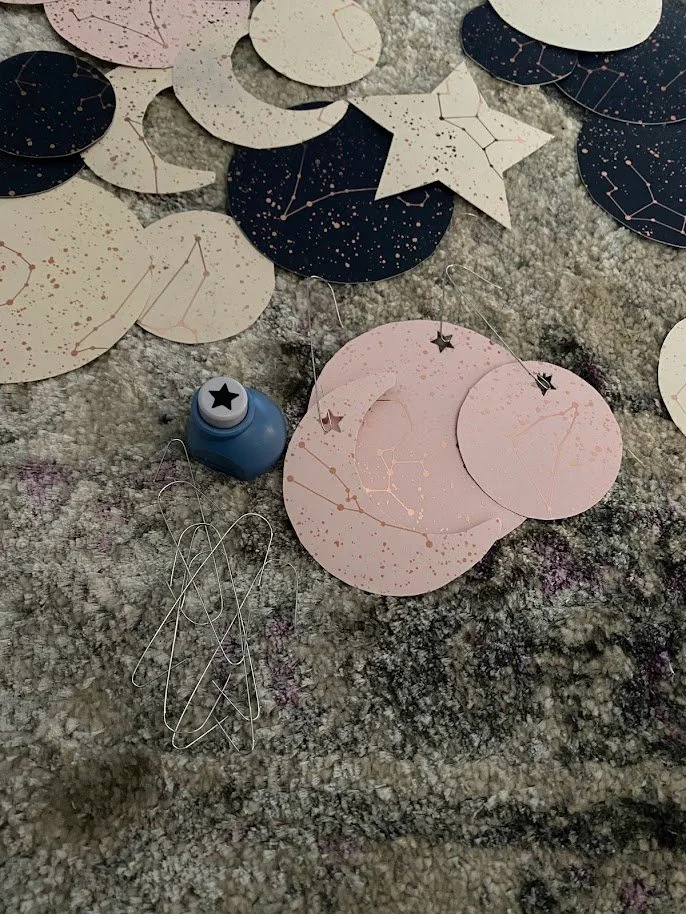
Hole Puncher
Ornament Hooks
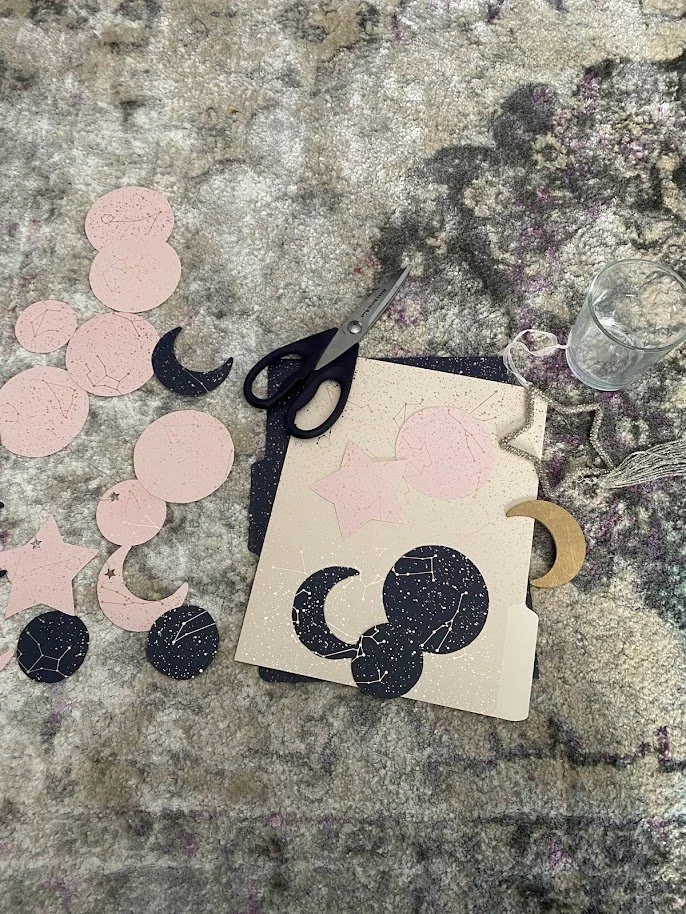
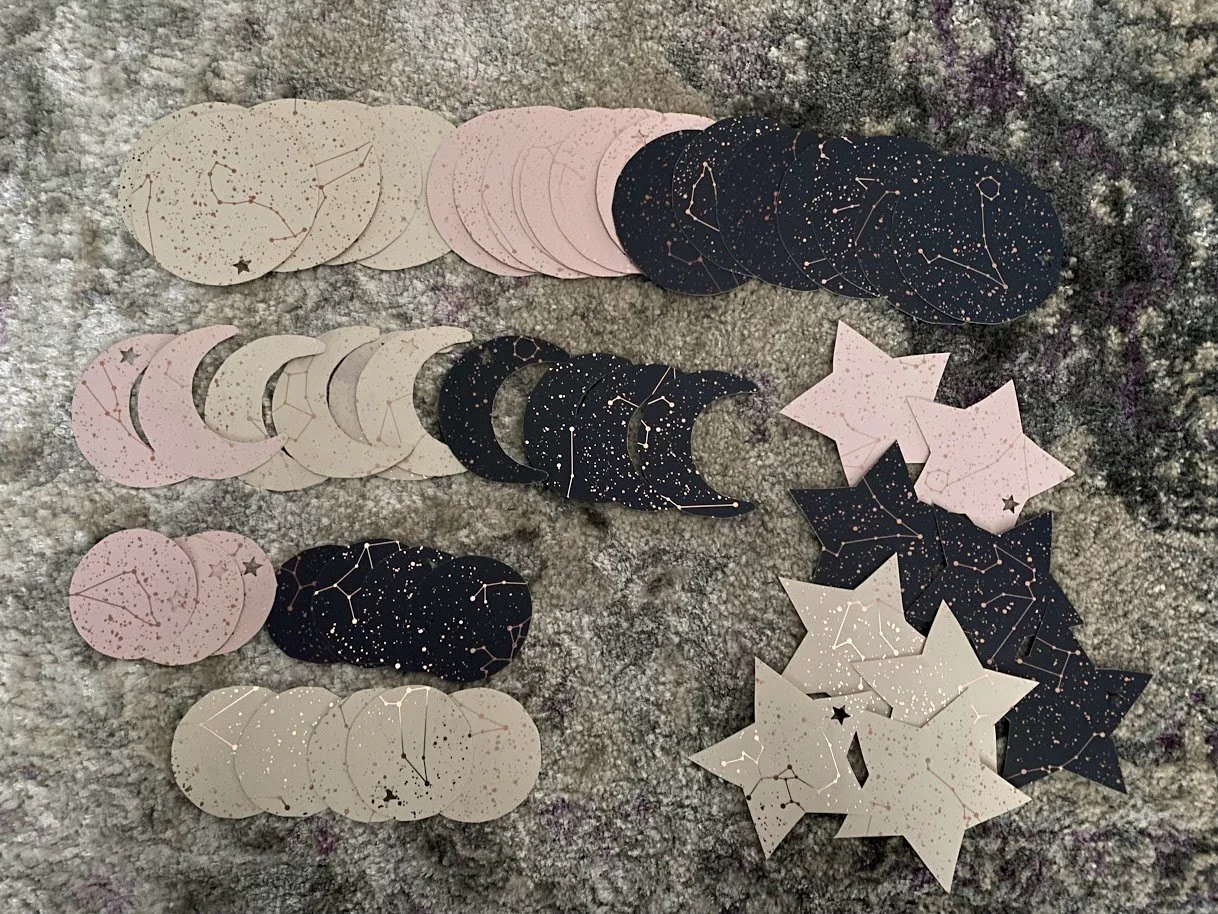
Cut the folders in half, so that you can use both sides of each folder for stenciling. Next, with the cups and other traceable items you have, start creating stenciled designs on the back side of each half of the folder. (As you can see, I traced a wooden moon and a star shaped ornament. Perfect pairing to go with my folder pattern!)
Then, cut, cut, cut!
*Remember! Trace your design in full without stopping so that the lines will match up and you will have a consistent shape! And, take your time cutting along the lines. I know you are not children, but it does matter! haha
Now it’s time to turn over your cut-outs to see the beautiful shape paired with the fun pattern. This was the “happy dance” moment.
Next, take your hole punch (I had a star shaped mini hole punch, so of course I had to use!) and choose the spot you will want them to hang from.
Then, add your ornament hooks, and voila! A satisfying DIY that’s cozy, winter transitional, and cheap!
Here’s how many I got out of 3 folders, using both sides of each for stenciling. (Over 50 ornaments!)
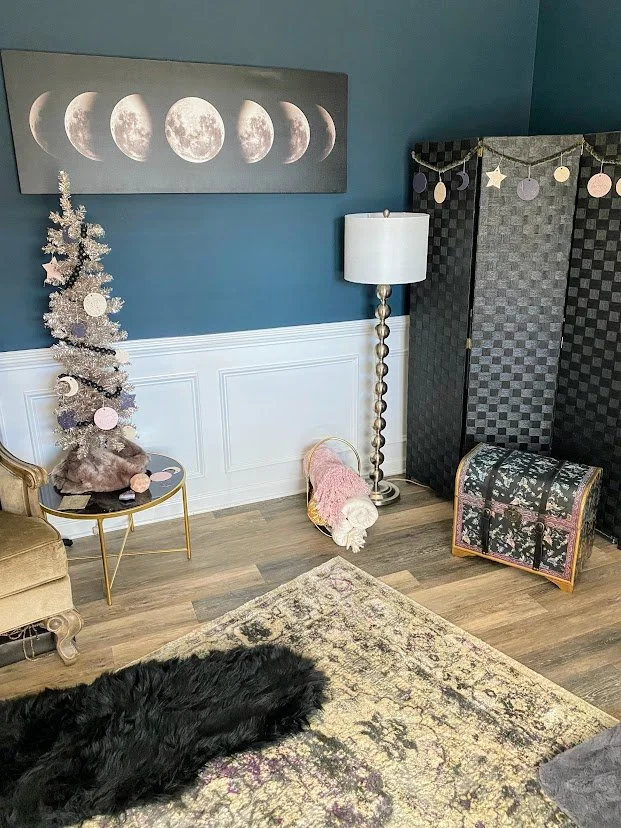
See below for how I chose to style them in my home.
Thank you so much for being here and for reading this post. I’m grateful to all who take the time to visit this blog or follow me on Instagram. Please continue to follow along. I loved sharing this DIY, and I plan to keep sharing them in the future. Stay cozy and cosmic. :)

